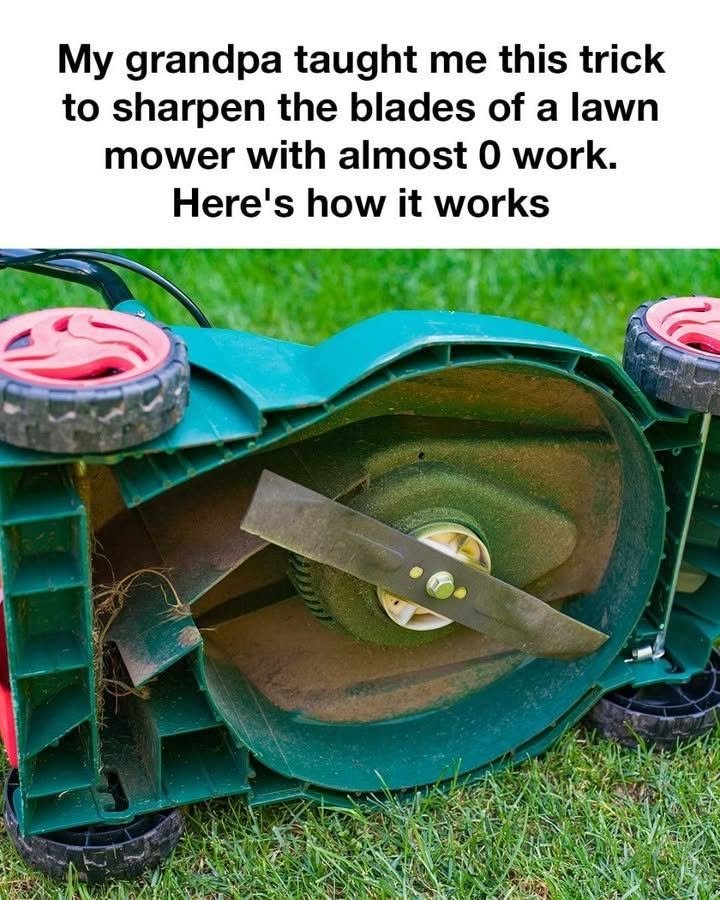
Viral DIY reels love to feature clever “grandpa’s secret hacks” that promise to sharpen heavy equipment like lawnmower blades in minutes with “almost zero work”—often suggesting you can just slide a tool against the blade while it’s still attached, or use a quick gimmick without removing it.
While the sentiment of learning a shortcut from an older generation is a classic trope, taking shortcuts with heavy, high-RPM rotating metal equipment is a fast track to safety hazards and mechanical damage.
Examining what actually goes into maintaining a lawnmower blade explains why a little bit of manual effort beats a “zero-work” shortcut every time.
The Reality of “Zero-Work” Hacks vs. Proper Maintenance
-
The Problem with “On-The-Fly” Shortcuts: Some viral videos suggest running a grinder or a drill attachment against the blade while it’s still mounted underneath the mower. Doing this makes it nearly impossible to maintain the correct factory bevel angle, leaves the blade uncleaned, and creates an extreme safety risk.
-
The Danger of an Unbalanced Blade: If you sharpen a blade unevenly—taking off more metal on one side than the other—the blade becomes unbalanced. When you spin a heavy piece of steel at thousands of RPMs, an imbalance causes violent, destructive vibrations. This ruins your mower’s deck, bends the crankshaft, and destroys the engine bearings.
The Right Way to Do It (With Minimal Effort)
Sharpening your own mower blade doesn’t require a professional shop, but it does require doing a few fundamental steps correctly to keep yourself safe and your lawn healthy:
-
Safety First (Disconnect the Power): Never skip this. For a gas mower, always disconnect the spark plug wire. For an electric mower, remove the battery entirely. This prevents the engine from accidentally turning over while your hands are near the steel edge.
-
Remove and Mark the Blade: Tilt the mower safely (with the carburetor facing up so oil doesn’t flood the engine). Use a block of wood to jam the blade, loosen the center bolt, and take the blade completely off. Take a quick mental note or mark which side faces the ground so you don’t reinstall it upside down.
-
Clean and Secure: Scrape away dried grass and caked-on dirt with a wire brush. Clamp the blade securely in a workbench vise.
-
File or Grind to the Original Angle: Using a 10-inch metal file or an angle grinder, match the existing bevel angle (usually around 30 to 45 degrees). Pro-tip: You don’t need a razor-sharp edge like a kitchen knife; a crisp, butter-knife-level edge is ideal because a razor-edge will chip and dull instantly against grass and hidden pebbles.
-
Check the Balance: Balance the blade on a nail or a screwdriver poked through the center hole. If one side dips lower, file a tiny bit more metal off that heavy side until it sits level.
💡 The Big Takeaway
A dull lawnmower blade tears grass blades rather than slicing them cleanly, turning your lawn tips brown and inviting fungal disease. Taking 15 minutes to safely remove, sharpen, and balance your blade protects both your lawn and your equipment far better than any viral “zero-work” shortcut.
Do you usually maintain your own yard equipment, or did a clever DIY video catch your attention while scrolling through your feed?
