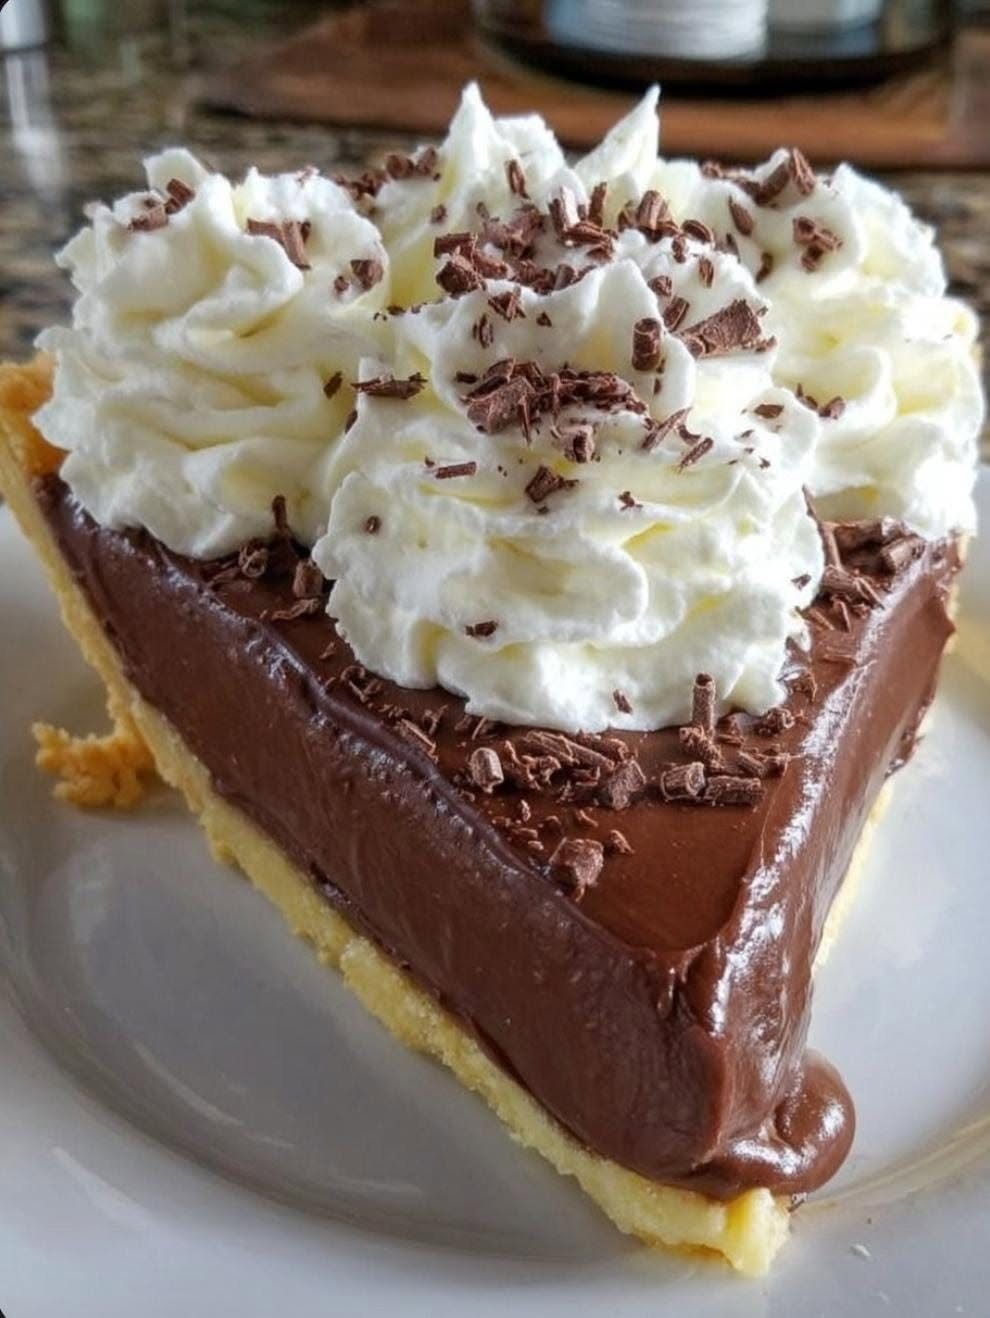
Moving from retro peanut butter sheet cake straight to a classic Chocolate Cream Pie is an elite-tier dessert trajectory.
If school cafeteria peanut butter cake is the king of sheet pans, old-school diner-style chocolate cream pie is the undisputed heavyweight champion of the pastry case. It’s got that buttery, flaky crust, a rich, glossy, pudding-like chocolate custard filling that actually holds its shape when you slice it, and a towering mountain of real whipped cream on top.
Here is how to make an absolute showstopper of a scratch-made chocolate cream pie:
Old-School Diner Chocolate Cream Pie
-
Prep time: 30 minutes
-
Chill time: 4 hours (or overnight)
-
Servings: 8 slices
Ingredients
For the Crust:
-
1 single 9-inch pie crust (your favorite all-butter pastry crust, blind-baked and completely cooled, or a classic crushed chocolate cookie/oreo crumb crust if you prefer a no-roll shortcut).
For the Chocolate Filling:
-
The Sweeteners & Thickeners:
-
3/4 cup granulated sugar
-
1/3 cup cornstarch (this is what gives it that smooth diner-pudding structure)
-
1/4 tsp salt
-
-
The Dairy & Chocolate:
-
3 cups whole milk (avoid skim or low-fat; fat equals richness here)
-
4 large egg yolks (save the whites for whipping cream or meringue if you’re feeling fancy, though a big cloud of whipped cream is better)
-
4 oz bittersweet or semi-sweet chocolate, finely chopped (using actual baking chocolate gives it a deep, rich flavor instead of just tasting like cocoa powder)
-
2 tbsp unsweetened cocoa powder (for an extra flavor punch)
-
-
The Finishing Touches:
-
4 tbsp unsalted butter, cut into pieces
-
2 tsp vanilla extract
-
For the Whipped Cream Topping:
-
1.5 cups heavy whipping cream (ice cold)
-
3 tbsp powdered sugar
-
1 tsp vanilla extract
-
Shaved chocolate or cocoa powder for dusting
Instructions
-
Blind-Bake the Crust:If using a traditional pastry crust, roll it into a 9-inch pie plate, flute the edges, line with parchment paper and pie weights, and bake at 400°F (200°C) for 20 minutes. Remove the weights and bake for another 10–12 minutes until golden brown. Let it cool completely.
-
Whisk the Base:In a medium heavy-bottomed saucepan (off the heat), whisk together the granulated sugar, cornstarch, and salt. Slowly pour in the whole milk, whisking constantly to ensure there are no cornstarch lumps. Whisk in the egg yolks and cocoa powder until completely smooth.
-
Cook and Thicken:Place the saucepan over medium heat, whisking constantly. Bring the mixture to a gentle boil (this usually takes about 6 to 8 minutes). Once it bubbles and thickens into a rich, glossy pudding consistency, let it cook for about 1 minute while stirring vigorously.
-
Melt the Chocolate and Butter:Remove the pan from the heat immediately. Stir in the chopped semi-sweet chocolate, the butter, and the vanilla extract. Whisk continuously until the chocolate and butter are completely melted and the filling is silky, smooth, and uniform.
-
Fill the Crust:Pour the warm chocolate filling directly into your cooled pie crust. Smooth out the top with a spatula.
-
Prevent the Skin:Press a piece of plastic wrap directly onto the surface of the warm chocolate filling (this stops a rubbery “skin” from forming). Transfer the pie to the refrigerator and chill for at least 4 hours, or until completely set and firm.
-
Whip the Cream and Finish:Just before serving, pour the cold heavy whipping cream into a large bowl. Add the powdered sugar and vanilla extract. Whip on medium-high speed until stiff peaks form. Pile the whipped cream high over the chilled chocolate filling, and garnish with chocolate shavings.
The Takeaway: No fancy molecular gastronomy required—just cornstarch chemistry, real chocolate, and a buttery crust coming together for the ultimate slice of comfort.
Are you breaking out the pie pan for a weekend baking project, or just indulging a serious chocolate craving tonight?
